Happy Valentine's! Buy One, Gift One. 44:44:44

 Rhea Tibbey
Are you excited to get started on your art journey but not quite sure where to start?
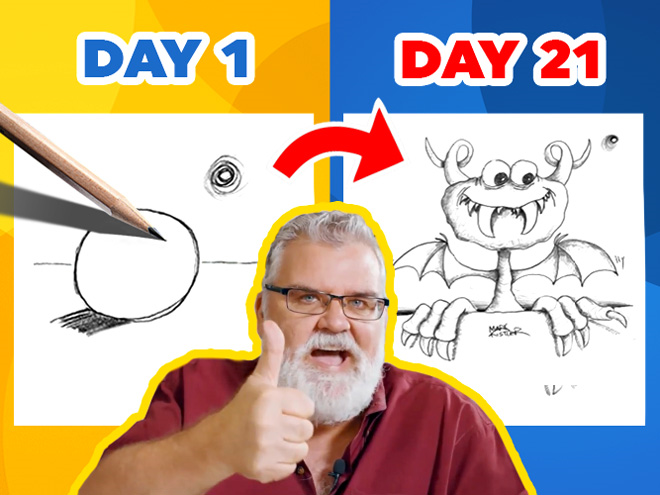
We have just the course for you. “Learn to Draw in 21 Days” will give you all the foundational knowledge you need to start drawing confidently in no time.
This course is led by the renowned illustrator and teacher Mark Kistler, who specializes in teaching his students the basics of creating three-dimensional art.
Throughout the course, Mark teaches his students how to apply all 12 of the Fundamental Laws of Drawing (a.k.a. The 12 Renaissance Words).
These 12 techniques will help you gain a better understanding of how to make your illustrations look three-dimensional using any 2D art form. So, what are these 12 magical words?
Let’s take a look and start creating three-dimensional art today.

Foreshortening is a super important technique that creates the illusion of depth and perspective. It involves depicting closer objects as larger and more detailed while distant objects appear smaller and less detailed.
Sometimes, this technique can cause objects to appear warped or squished as they are adjusted to show the effect of perspective.
In “Learn to Draw in 21 Days,” Mark Kistler will teach you how to apply this technique to a range of 3D forms.
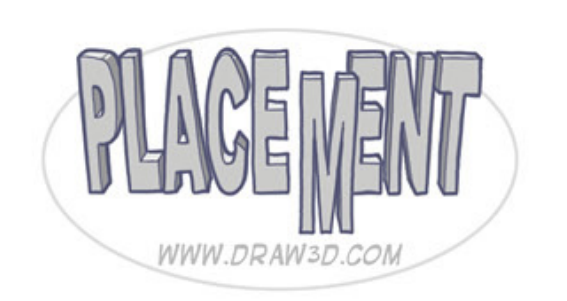
Ever wonder how your brain knows where the foreground, midground, and background are in an illustration despite it being 2D?
This mostly comes down to an object’s placement! The further down/forward an object is on your paper, the closer it will seem within the imagined three-dimensional physical space.
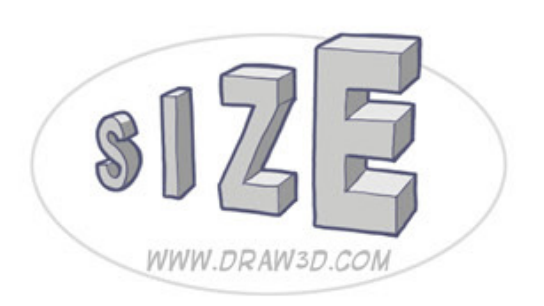
Size is another big contributor to how near or far an object will appear in your illustration. This one is pretty self-explanatory.
Small objects will appear distant, and large ones will feel close.
Even though it seems simple, there are a lot of unique ways you can use this technique to create three-dimensional art that Mark will teach you in his course.
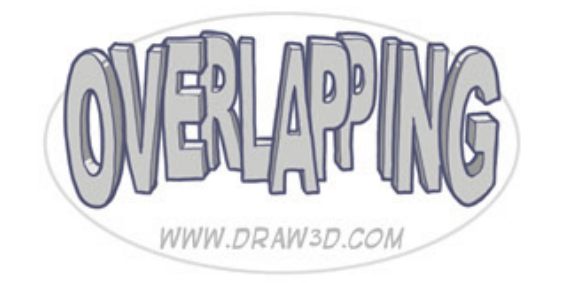
This method is super important for adding depth to your illustration. It involves drawing your objects with a slight overlap to show their position in your illustration.
If an object overlaps another, it creates the visual effect that it is behind it in your illustration’s perspective.

Shading involves using varying values to add highlights, mid-tones, and shadows to an object in your illustration. This gives a sense of depth to your work.
By practicing shading techniques and observing how light interacts with objects in real life, beginners can enhance their artwork and create a 3D effect!
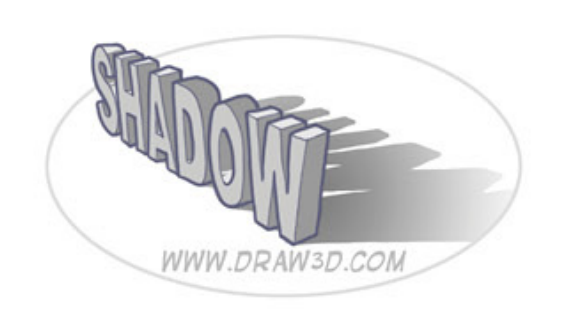
When an object blocks light, it casts a shadow.. Shadows help to depict the relationship between objects and their surroundings, providing a sense of depth.
By accurately depicting shadows in art, artists can create a convincing illusion of form and volume.
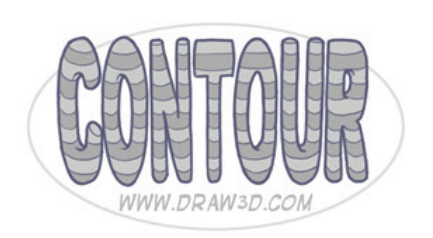
Contour lines are lines that go around the curves of an object to show its shape. This creates a 3D effect and is a great way to get a better understanding of the forms in your illustration.
These lines can be straight lines or curved lines depending on the object’s form. It can help to think of your objects as if you are creating sculptures when you are adding in your contour lines.
If you can imagine the three dimensions of your illustration, it will make it easier to draw in the contour lines correctly.
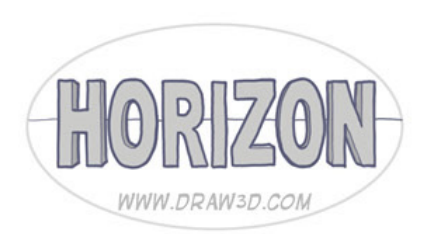
Adding a horizon line to your illustrations is one of the most key foundational elements of adding perspective to your illustration.
A horizon line grounds your work in reality and creates a sense of space. This line creates a clear reference for the very back edge of your background.

Density involves using bold line-work and values for objects that are in the foreground and light faint sketching for things in the distance to create a sense of depth.
This method follows the principles of atmospheric perspective, in which distant objects become hazy and less contrasted.
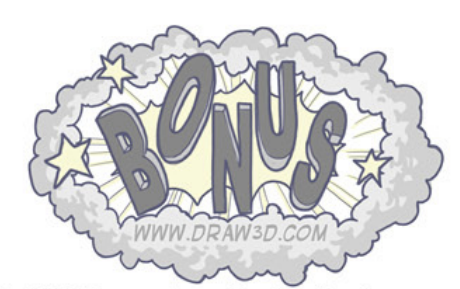
Once you have the previous 9 Renaissance words down, you can add tones of extra details to your illustration. This will make your art more exciting and visually interesting.

The only way to improve your three-dimensional art skills and incorporate all of these techniques into your work is through practice.
Mark encourages his students to create one 3D sketch each day. An effortless way to stay motivated with your practice is to take Mark’s step-by-step course and participate in an incredible new lesson each day.
The final step in becoming a 3D drawing master is to keep up the positivity. Having an awesome attitude and letting yourself have some fun with your art is one of the best ways to keep yourself motivated and improving.
So, now that you know these 12 foundational art techniques, are you ready to dive right into drawing three-dimensional art? Keep yourself motivated and join 1000s of students on the journey to “Learn to Draw in 21 Days“.
Don’t forget to check out our online digital illustration courses and procreate courses.
Rhea Tibbey
Rhea is an Australian artist with a Bachelor of Animation and Art Direction. She is passionate about illustration and has worked as a Producer and Concept Artist on multiple short films! She aspires to spread her love of art to 21 Draw students everywhere!
Hey! This is my second year buying an annual subscription [Unfortunately last year I had a ton of medical issues that resulted in me having many surgeries and being in the hospital almost half of the year … So I never got to get past 3/4th of the first class I began taking, which also happened to be modeled around my favorite beginner’s drawing book I had ever come across by Mark :) ] Here is my dilemma now: I saw he released a SECOND course [cue me instantly buying another annual subscription, IMMEDIATELY!!] However, I sat down tonight to begin with his courses .. and I am going to be terribly honest haha - I thought it would be a lot more obvious which one of his courses I should start off with & which one I should follow up the 1st course with immediately after … Except, I am at a loss for which one you guys over @ 21-draw would suggest to BEGIN with 1st ?? Learn to SKETCH in 21 days ?? -vs- Learn to DRAW in 21 days ?? Thanks for any input whatsoever!!
Reply Give one for FREE.
Get started
Give one for FREE.
Get started


 Gift Cards